前言:本文为学习 PyTorch深度学习快速入门教程(绝对通俗易懂!)【小土堆】时记录的 Jupyter 笔记,部分截图来自视频中的课件。
SummaryWriter对象:
class SummaryWriter(builtins.object)
 |  SummaryWriter(log_dir=None, comment='', purge_step=None, max_queue=10, flush_secs=120, filename_suffix='')
 |
 |  Writes entries directly to event files in the log_dir to be
 |  consumed by TensorBoard.
 |
 |  The `SummaryWriter` class provides a high-level API to create an event file
 |  in a given directory and add summaries and events to it. The class updates the
 |  file contents asynchronously. This allows a training program to call methods
 |  to add data to the file directly from the training loop, without slowing down
 |  training.
    __init__(self, log_dir=None, comment='', purge_step=None, max_queue=10, flush_secs=120, filename_suffix='')
 |      Creates a `SummaryWriter` that will write out events and summaries
 |      to the event file.
 |
 |      Args:
 |          log_dir (string): Save directory location. Default is
 |            runs/**CURRENT_DATETIME_HOSTNAME**, which changes after each run.
 |            Use hierarchical folder structure to compare
 |            between runs easily. e.g. pass in 'runs/exp1', 'runs/exp2', etc.
 |            for each new experiment to compare across them.
 |          comment (string): Comment log_dir suffix appended to the default
 |            ``log_dir``. If ``log_dir`` is assigned, this argument has no effect.
 |
 |      Examples::
 |
 |          from torch.utils.tensorboard import SummaryWriter
 |
 |          # create a summary writer with automatically generated folder name.
 |          writer = SummaryWriter()
 |          # folder location: runs/May04_22-14-54_s-MacBook-Pro.local/
 |
 |          # create a summary writer using the specified folder name.
 |          writer = SummaryWriter("my_experiment")
 |          # folder location: my_experiment
 |
 |          # create a summary writer with comment appended.
 |          writer = SummaryWriter(comment="LR_0.1_BATCH_16")
 |          # folder location: runs/May04_22-14-54_s-MacBook-Pro.localLR_0.1_BATCH_16/
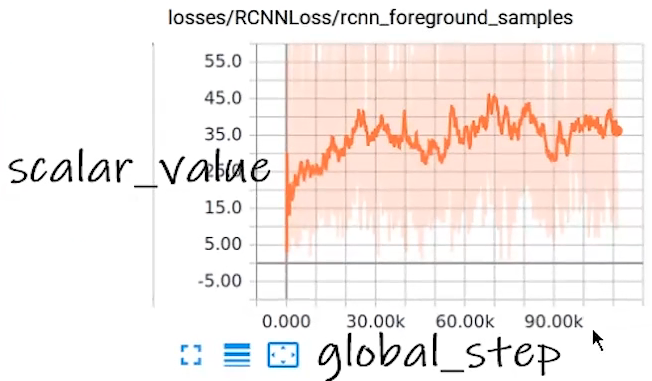
add_scalar方法–新增标量
 add_scalar(self, tag, scalar_value, global_step=None, walltime=None, new_style=False, double_precision=False)
|      Add scalar data to summary.
|
|      Args:
|          tag (string): Data identifier(图标标题)
|          scalar_value (float or string/blobname): Value to save
|          global_step (int): Global step value to record
|          walltime (float): Optional override default walltime (time.time())
|            with seconds after epoch of event
|          new_style (boolean): Whether to use new style (tensor field) or old
|            style (simple_value field). New style could lead to faster data loading.
add_image方法–新增图片
  add_image(self, tag, img_tensor, global_step=None, walltime=None, dataformats='CHW')
 |      Add image data to summary.
 |
 |      Note that this requires the ``pillow`` package.
 |
 |      Args:
 |          tag (string): Data identifier
 |          img_tensor (torch.Tensor, numpy.array, or string/blobname): Image data
 |          global_step (int): Global step value to record
 |          walltime (float): Optional override default walltime (time.time())
 |            seconds after epoch of event
from torch.utils.tensorboard import SummaryWriter

writer = SummaryWriter("logs") # 设置文件名为logs
# writer.add_image()

# y = x
for i in range(100) :
    writer.add_scalar("y=x^2",i*i,i)

writer.close()
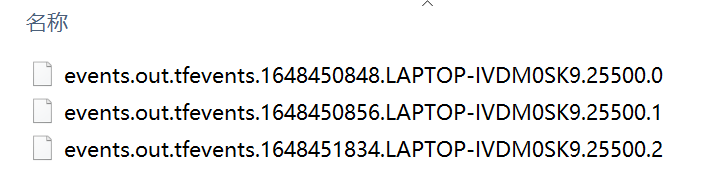
可以发现在和代码存放路径同级的路径下会多出一个 logs 的文件夹,文件夹内文件如下:
然后需要在终端启动tensorboard,使用如下命令:
tensorboard --logdir=D:\work\StudyCode\jupyter\logs --port=6007
--logdir=写log所在路径--port=写想在哪个端口打开tensorboard
结果如下:
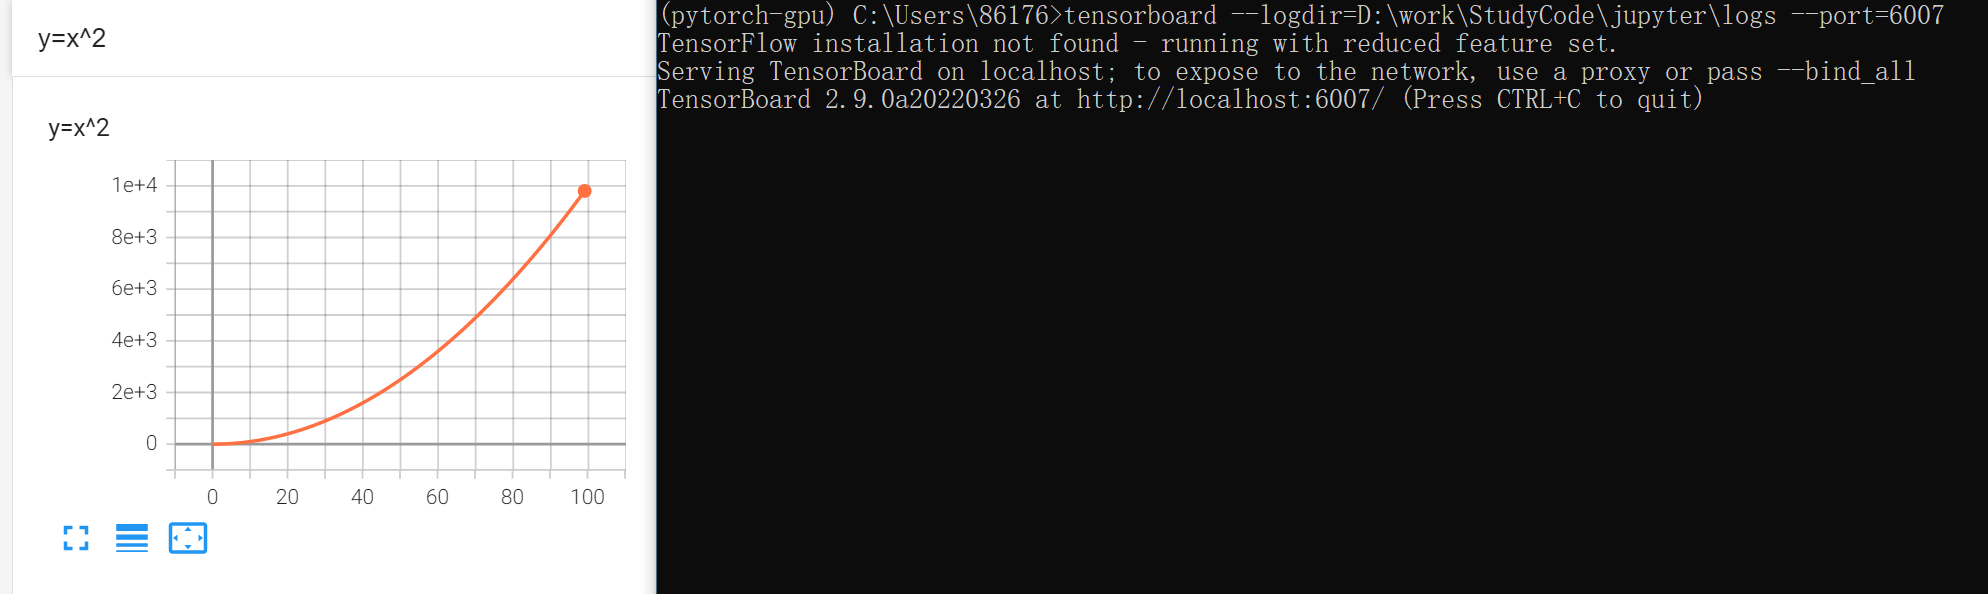
需要注意的是,使用add_scalar方法,如果图片的标题(tag)相同的话,数据是累加上去的,而不是覆盖,如果需要重新绘图就要删掉log文件,重新运行。
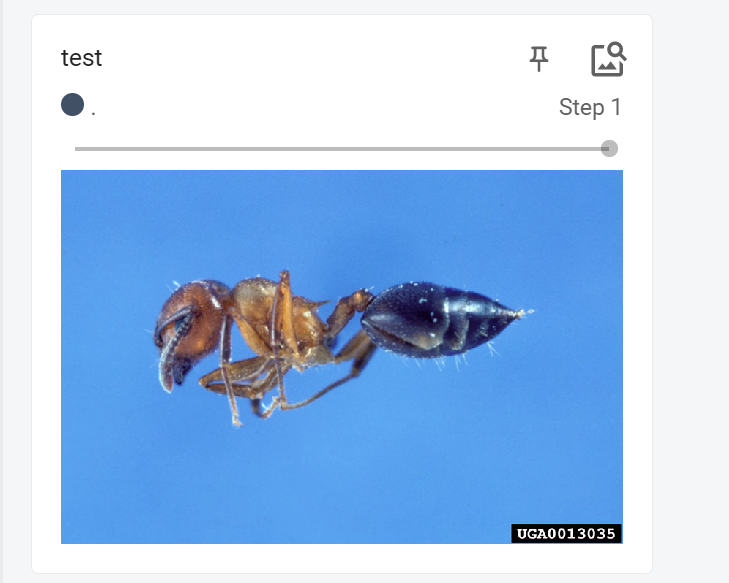
下面演示在tensorboard中添加图片,与添加标量不同的是,添加的图片必须是tensor类型或者numpy类型,并且还要指定数据每一维度的意义(长、宽、通道)
import numpy as np
from PIL import Image

image_path = "D:/work/StudyCode/jupyter/dataset_for_pytorch_dataloading/train/ants/0013035.jpg"
img_PIL = Image.open(image_path)
img_array = np.array(img_PIL)
writer.add_image("test", img_array, 1, dataformats="HWC")